New to RVing? We’re here to help you learn the ropes! If you’re enjoying your autumn camping trips in your new or used RV, you’ll want to get a clear understanding from the outset of how to do a black tank empty and flush. It’s easier than you might think, but you definitely want to get it right. Check out our RV tips for emptying and flushing your black tank below!
First Things First: Attaching the Hose & Lock
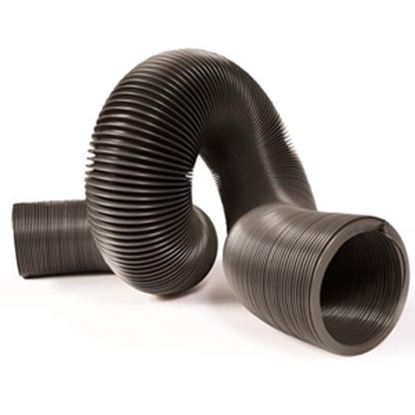
First, find your RV sewer hose. These come in several different lengths and usually range between 10 and 25 feet. You’ll want to attach the elbow lock piece to one end of the sewer hose – this end will connect to the dump station.
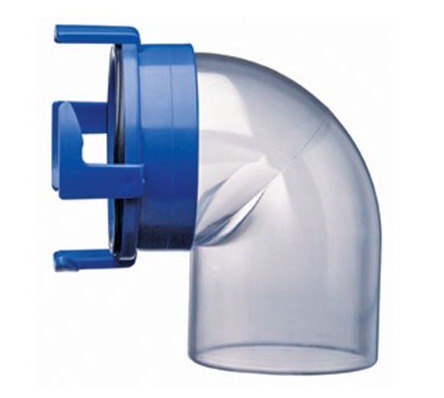
Elbow locks come in several colors, including clear, and while watching the contents of your black tank pass through might not be particularly appealing, one advantage of using a clear elbow lock is knowing when the tank is empty as well as how clear the water is when you proceed with a tank flush.
Next: Lock it Down
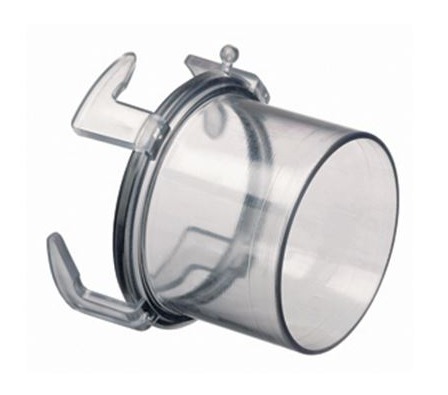
Now take a look at the opposite end of the hose. See those 4 locking tabs? They attach to the receiving tabs you’ll find on your RV’s sewer mount. Convenient, huh?! Click these tabs into place and twist to lock.
Remove the Valve Cap
The next thing you’ll need to do is remove the valve cap which is located on the sewer mount. This is not particularly complicated, but you absolutely have to get it right. Have questions? Contact our RV service department.
Black Before Grey
Always empty the black tank before emptying the grey tank. The grey tank holds the old, soapy water from your inside sinks and shower, and when you empty the grey tank, it sends all of that soapy water through the black tank and pushes it through the sewer hose. So, it’s a great way to empty both tanks while also cleaning the black tank and sewer hose as you go.
Black Tank Flush
If you plan on giving your black tank a flush after dumping – and it’s a good idea to – now is the time. Just like sending the soapy water through gives it a cleaning, flushing it will give it a solid rinse. A black tank flush simply runs clean water through the tank. To do this, find the black tank flush connection. Attach the hose exactly like you might connect a regular garden hose and the same way the city water connection is hooked up. As long as you have a sealed connection with the gasket and the black tank valve is open, you can start sending in the clean water.
The reason why you absolutely must open the black tank valve before turning on the water is because if, for some reason, any remaining contents in the black tank haven’t finished dumping or even created a clog, sending in fresh water without the valve opened will only pressurize what’s left in there. And when the valve is open first, the pressure is relieved. Nobody, we repeat, nobody wants to risk messing with pressurized sewage.
To finish the black tank flush, simply turn on the water and run it until the water runs clear (and at this point be glad you went with the clear elbow lock).
And, that’s pretty much all there is to it. Have more upkeep questions about your new or used RV? We’re happy to help. Contact us today!
